Janitorial Services Winnipeg: Maintaining Your Facility Pristine
Wiki Article
Deck Staining Made Easy: Step-by-Step Overview for DIY Lovers
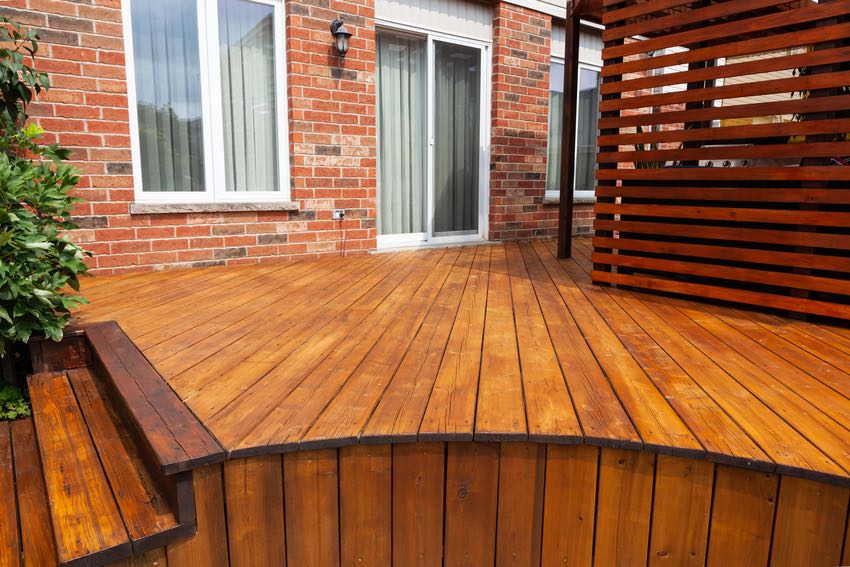
Are you a DIY enthusiast looking to offer your deck a fresh new appearance? In this step-by-step guide, we will walk you with the process of deck discoloration. With our easy-to-follow instructions, you'll be able to change your deck into a lovely exterior room in no time.Preparing the Deck Surface
Prior to you begin discoloring the deck, make certain you're properly cleaning up as well as fining sand the surface area. Make use of a power washer or a hose with a high-pressure nozzle to completely clean up the deck. Pay close interest to locations with persistent discolorations or mold and mildew, and also use a deck cleaner or a mix of warm water as well as moderate detergent to treat them.When the deck is completely dry, it's time to sand the surface. Grab a portable orbital sander or a sanding block, and begin fining sand the deck boards in the instructions of the wood grain.
Choosing the Right Discoloration
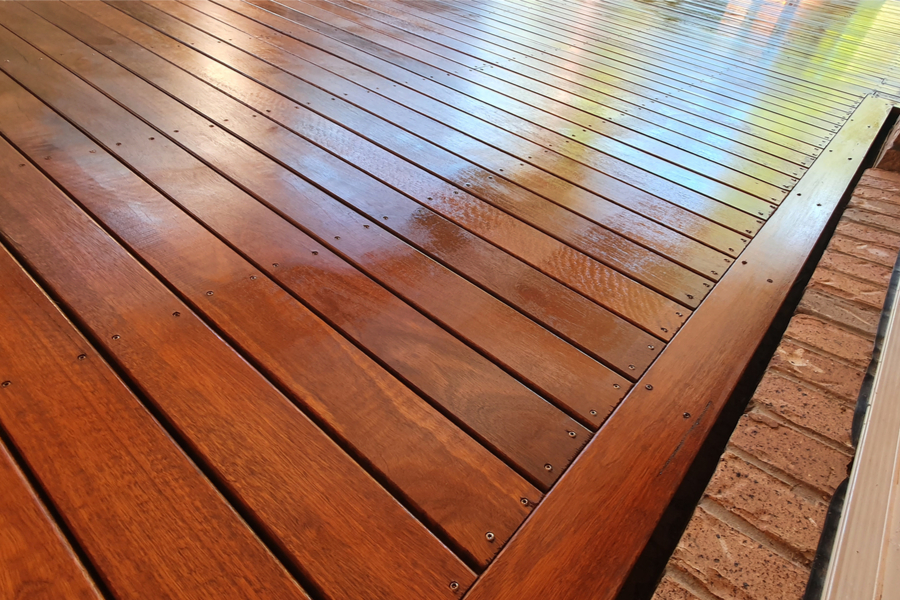
When deciding on the appropriate tarnish, you'll intend to think about the kind of wood you're collaborating with. Different sorts of timber have different qualities that can impact just how well they take in the stain. Softwoods, like ache or cedar, have a tendency to absorb tarnish quicker than woods, such as oak or mahogany. Keep this in mind when selecting your tarnish to ensure you achieve the wanted surface.Along with the sort of wood, you must also consider the shade you intend to accomplish. Spots can blog here be found in a range of shades, from light to dark, as well as can considerably change the look of your deck. If you're looking to improve the all-natural color of the timber, pick a transparent or semi-transparent tarnish. These allow the wood grain to reveal via while adding a refined tip of shade. For a much more significant effect, choose a strong or opaque discolor, which will entirely cover the timber and supply a vibrant, uniform color.
Finally, think of the degree of security you desire for your deck. Stains with higher levels of pigment often tend to provide much better visit our website protection against UV rays and dampness. If your deck is subjected to severe climate conditions, it's worth purchasing a tarnish with added safety qualities.
read this article
Cleaning and Repairing the Deck
Applying the Stain

Completing Touches as well as Maintenance Tips
After using the last coat of discolor, it's crucial to regularly clean as well as secure your deck to maintain its charm as well as shield it from the elements. Choose a top notch sealer that is specifically developed for decks as well as use it according to the manufacturer's directions. It's suggested to use a brand-new layer of sealer every 1-2 years to maintain your deck looking its best.
Conclusion
Report this wiki page